Getting Data into EViews
The first step in most projects will be to read your data into an EViews workfile. EViews provides sophisticated tools for reading from a variety of common data formats, making it extremely easy to get started.
Before we describe the process of reading a foreign data file, note that the data for this demonstration have been included in both Excel spreadsheet and EViews workfile formats in your EViews installation directory (“.\Example Files\EV14 Manual Data\Chapter 2 - A Demonstration”).
If you wish to skip the discussion of opening foreign files, going directly to the analysis part of the demonstration, you may load the EViews workfile by selecting and opening “Demo.WF1”, or by navigating to the directory and drag-and-dropping “Demo.WF1” onto your open EViews application window or icon.
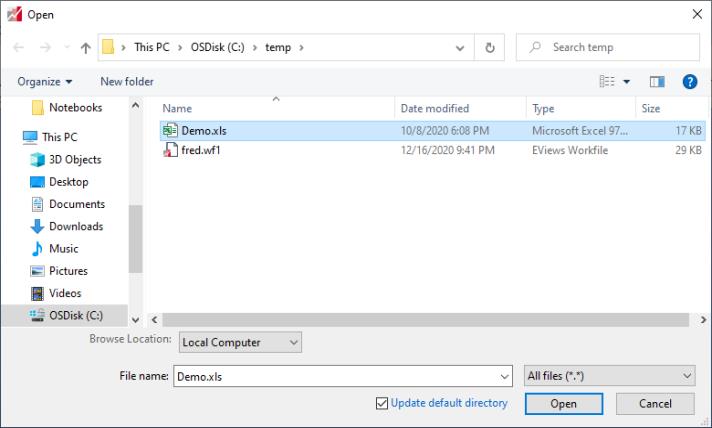
The easiest way to read the data from Excel file “Demo.XLS” is to drag-and-drop the file into an open EViews application window. You may also drag-and-drop the file onto the EViews icon. In the latter case, Windows will first start the EViews application and will then open the demonstration Excel workfile.
Alternately, you may use the dialog, selecting Files of type Excel and selecting the desired file.
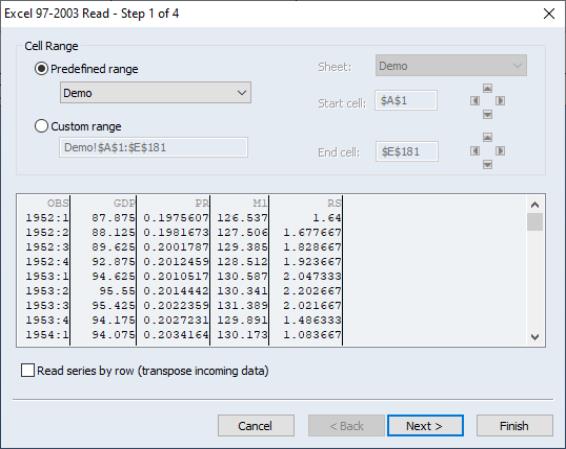
When EViews opens “Demo.XLS”, it determines that the file is in Excel file format, analyzes the contents, and opens the Excel Read wizard.
The first page of the wizard includes a preview of the data found in the spreadsheet. In most cases, you need not worry about any of the options on this page. In more complicated cases, you may use the options on this page to provide a custom range of cells to read, or to select a different sheet in the workbook.
The second page of the wizard contains various options for reading the Excel data. These options are set at the most likely choices given the EViews analysis of the contents of your workbook. In most cases, you should simply click on Finish to accept the default settings. In other cases where the preview window does not correctly display the desired data, you may click on Next and adjust the options that appear on the second page of the wizard. In our example, the data appear to be correct, so we simply click on Finish to accept the default settings.
You will be prompted to “Link the imported series and alpha object(s) to external data source?”. Click on for now.
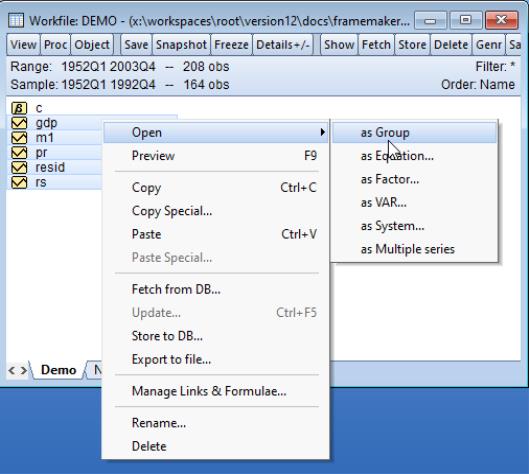
When you accept the settings, EViews automatically creates a workfile that is sized to hold the data, and imports the series into the workfile. The workfile ranges from 1952 quarter 1 to 1996 quarter 4, and contains five series (GDP, M1, OBS, PR, and RS) that you have read from the Excel file. There are also two objects, the coefficient vector C and the series RESID, that are found in all EViews workfiles.
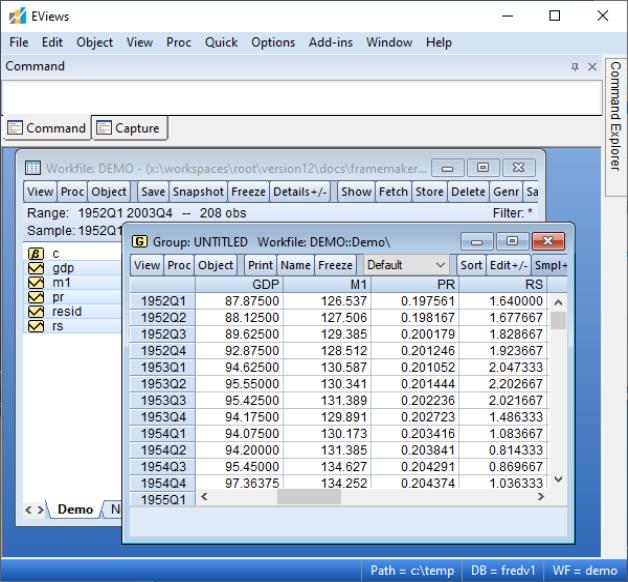
Select all of the series, right-click, and select . EViews will open the selected series in spreadsheet view.
You can use the scroll bars and scroll arrows on the right side of the window to view and verify the reminder of the data.
You may wish to click on the button in the group toolbar to provide a name for your UNTITLED group. Enter the name ORIGINAL, and click on OK to accept the name.
Once you are satisfied that the data are correct, you should save the workfile by clicking on the button in the workfile window. A saved dialog will open, prompting you for a workfile name and location. You should enter “Demo2.WF1”, and then click OK. A second dialog may be displayed prompting you to set storage options. Click OK to accept the defaults. EViews will save the workfile in the specified directory with the name “Demo2.WF1”. A saved workfile may be opened later by selecting from the main menu.