Creating a Spool
To create a spool object in a workfile, you may select from the workfile menu, optionally enter a name in the edit field, and click on . Alternately, you may simply enter the declaration command spool followed by an optional name in the command window, then press ENTER.
Spools may also be created by printing from an EViews object to a non-existent spool. You may simply redirect the print output of an object you wish to add to the spool (see
“Adding Objects”, below).
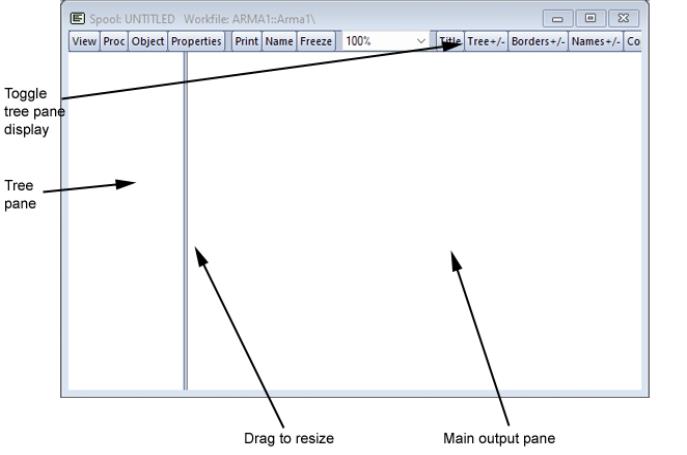
Here we see the spool view of an empty, unnamed spool object. As depicted here, the default is to display the contents of the spool using two panes. The left pane is the tree pane which shows a tree-structure listing of the objects contained in the spool. You may use the tree pane to navigate quickly from object to object. The right pane is the main output pane which shows the actual output view objects.
You may select and drag the separator between the two panes to change their relative sizes, and you may use the on the toolbar to show and hide the tree pane. Note that hiding the tree pane provides you with a larger main window display area, but makes a number of spool management and customization tasks somewhat more difficult.