Print Setup
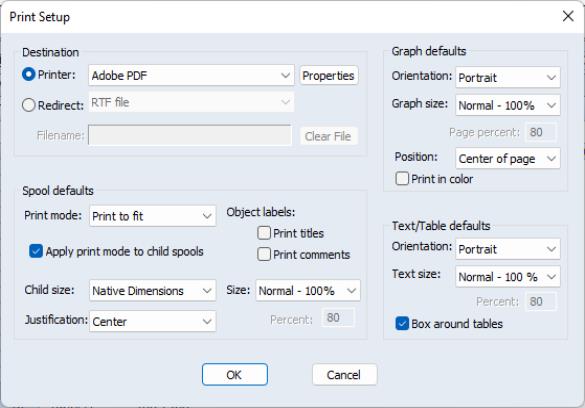
The options ( on the main menu) determine the default print behavior when you print an object view.
The top of the dialog provides you with choices for the destination of printed output.
You may elect to send your output directly to the printer by selecting the radio button. The drop down menu allows you to choose between the printer instances available on your computer, and the button allows you to customize settings for the selected printer.
Alternatively, you may select so that EViews will redirect your output. There are three possible settings in the drop down menu: , , , and Spool object:
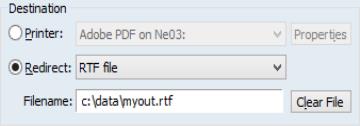
• If you select , all of your subsequent print commands will be appended to the RTF file specified in (the file will be created in the default path with an “.RTF” extension). You may use the button to empty the contents of the existing file.
• If you select , all printed text output will be appended to the text file specified in (the file will be created in the default path with a “.TXT” extension). Since graph output cannot be saved in text format, all printing involving graphs will still be sent to the printer. Spools will send all text and table output to the file, and will ignore all graph output.
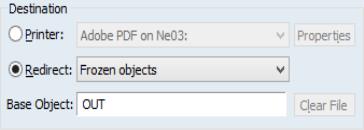
• redirects print commands into newly created graph or table objects using the specified name. Each subsequent print command will create a new table or graph object in the current workfile, naming it using the base name and an identifying number. For example, if you supply the base name of “OUT”, the first print command will generate a table or graph named OUT01, the second print command will generate OUT02, and so on.
• Selecting
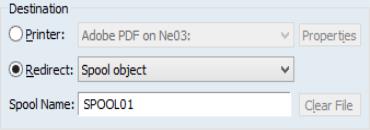
Spool object sends subsequent print commands into a spool object in the workfile. Spool objects allow you to create collections of frozen object output (see
“Spool Objects” for details).
There are also settings for text printing, CSV printing and LaTeX file printing.
The other portions of the dialog set various default settings for spool, graph, and table printing.
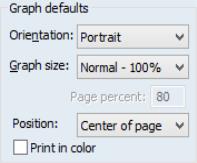
The section has settings for printing in portrait or landscape mode, scaling the size of the graph, positioning the graph on the page, and choosing black and white or color printing. For example, the dropdown allows you print graphs in or orientation. Similarly, you may use the dropdown to scale all graphs by a fixed percentage when printing. Note that some graph settings are not relevant when redirecting output, so that portions of the dialog may be grayed out.
See
“Printing Graphs” for details.
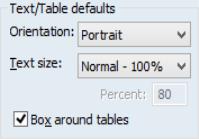
The allow you adjust settings for printing tables and text objects. You may use the dropdown allows you print graphs in or orientation, Similarly, you may use the dropdown to scale all text by a fixed percentage when printing. Some of these options are not available when redirecting output.
See
“Printing Tables” for details.
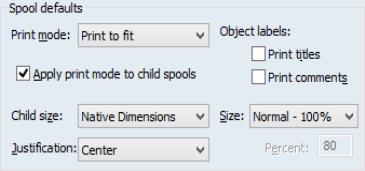
The portion of the dialog includes settings specific to printing spool. You may use the dropdown and checkbox to specify where page breaks are to be used, the section to print or suppress titles and comments, or the Child size, Justification, and Size dropdowns to size and position the output.
We remind the user that this dialog only specifies the default settings for printing. You may override any of these settings when printing a particular job using the dialog or the print command.
Global Options Export and Import
Note that you may save your options settings to disk for backup and update your settings from an existing settings file. One use for these commands is to establish a set of global options settings which are then saved and then distributed to other users.
The
optsave command (
optsave) saves a copy of the current EViews global options settings “.INI” files into a directory. Any existing option settings in the directory will be overwritten.
You may use the
optset command (
optset) to replace the current EViews global options settings “.INI” files with ones from a different directory.